Split-Screen-Multiplayer-Tutorial für Unity auf demselben PC
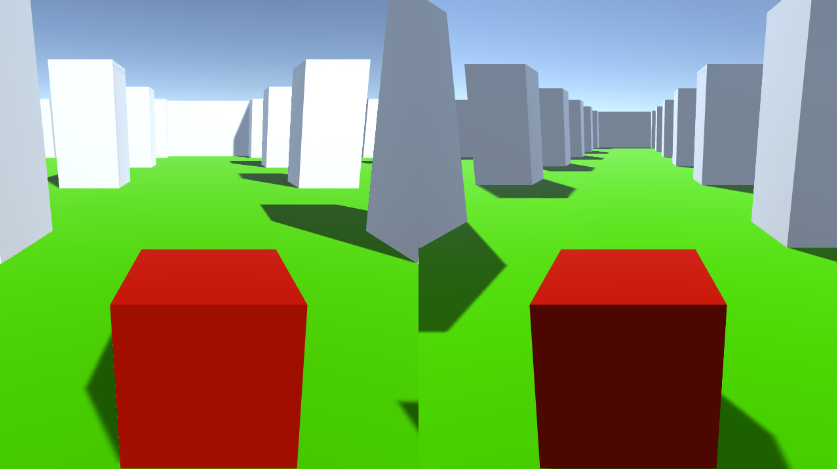
In diesem Tutorial zeige ich, wie man einen Multiplayer mit geteiltem Bildschirm in Unity erstellt.
Schritte
- Öffne eine Szene mit deinem Level (in meinem Fall ist es eine einfache Szene mit einigen Würfeln)
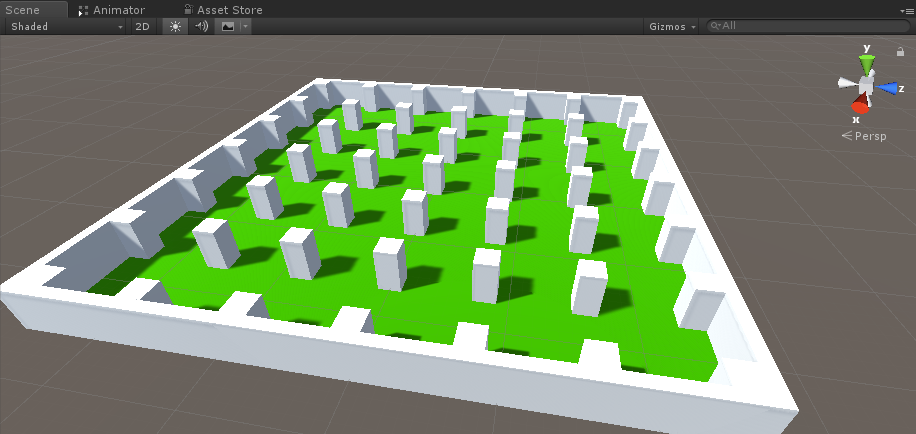
- Erstellen Sie ein neues GameObject und nennen Sie es "Player 1"
- Erstellen Sie einen neuen Cube und verschieben Sie ihn innerhalb des "Player 1"-Objekts (entfernen Sie die Box Collider-Komponente).
- Erstellen Sie ein paar weitere Würfel für die Augen und den Mund (entfernen Sie auch deren Box Collider-Komponenten).
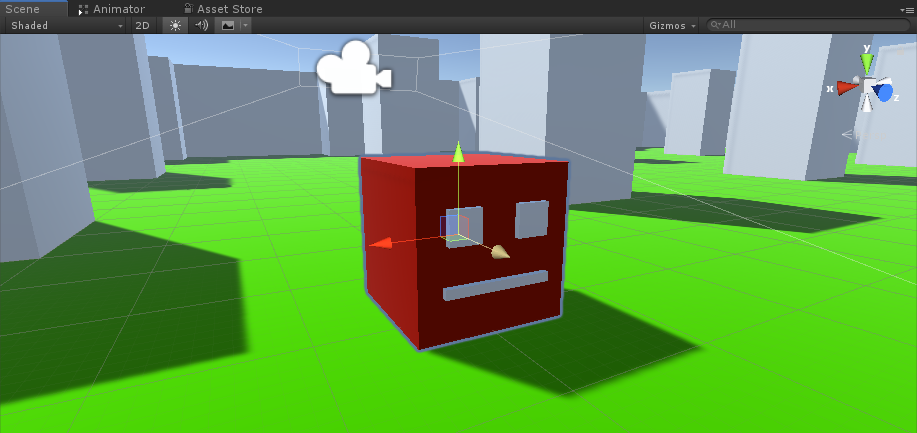
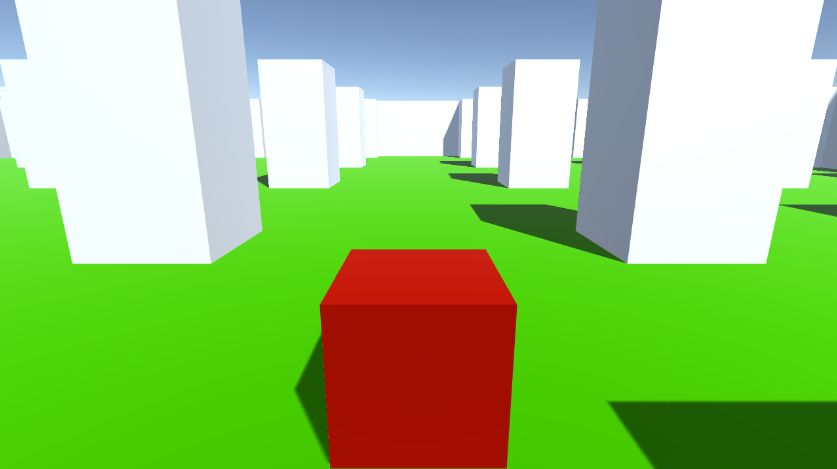
- Bewegen Sie die Hauptkamera in das "Player 1"-Objekt und richten Sie sie auf einen Würfel

- Erstellen ein neues Skript, nennen Sie es "RigidbodyPlayerController" und fügen Sie den folgenden Code ein:
RigidbodyPlayerController.cs
using UnityEngine;
using System.Collections;

[RequireComponent(typeof(Rigidbody))]
[RequireComponent(typeof(CapsuleCollider))]

public class RigidbodyPlayerController : MonoBehaviour
{

    public enum PlayerControls { WASD, Arrows }
    public PlayerControls playerControls = PlayerControls.WASD;
    public float movementSpeed = 3f;
    public float rotationSpeed = 5f;

    Rigidbody r;
    float gravity = 10.0f;

    void Awake()
    {
        r = GetComponent<Rigidbody>();
        r.freezeRotation = true;
        r.useGravity = false;
    }

    // Update is called once per frame
    void FixedUpdate()
    {
        // Move Front/Back
        Vector3 targetVelocity = Vector3.zero;
        if ((playerControls == PlayerControls.WASD && Input.GetKey(KeyCode.W)) || (playerControls == PlayerControls.Arrows && Input.GetKey(KeyCode.UpArrow)))
        {
            targetVelocity.z = 1;
        }
        else if ((playerControls == PlayerControls.WASD && Input.GetKey(KeyCode.S)) || (playerControls == PlayerControls.Arrows && Input.GetKey(KeyCode.DownArrow)))
        {
            targetVelocity.z = -1;
        }
        targetVelocity = transform.TransformDirection(targetVelocity);
        targetVelocity *= movementSpeed;

        // Apply a force that attempts to reach our target velocity
        Vector3 velocity = r.velocity;
        Vector3 velocityChange = (targetVelocity - velocity);
        float maxVelocityChange = 10.0f;
        velocityChange.x = Mathf.Clamp(velocityChange.x, -maxVelocityChange, maxVelocityChange);
        velocityChange.z = Mathf.Clamp(velocityChange.z, -maxVelocityChange, maxVelocityChange);
        velocityChange.y = 0;
        r.AddForce(velocityChange, ForceMode.VelocityChange);

        // We apply gravity manually for more tuning control
        r.AddForce(new Vector3(0, -gravity * r.mass, 0));


        // Rotate Left/Right
        if ((playerControls == PlayerControls.WASD && Input.GetKey(KeyCode.A)) || (playerControls == PlayerControls.Arrows && Input.GetKey(KeyCode.LeftArrow)))
        {
            transform.Rotate(new Vector3(0, -14, 0) * Time.deltaTime * rotationSpeed, Space.Self);
        }
        else if ((playerControls == PlayerControls.WASD && Input.GetKey(KeyCode.D)) || (playerControls == PlayerControls.Arrows && Input.GetKey(KeyCode.RightArrow)))
        {
            transform.Rotate(new Vector3(0, 14, 0) * Time.deltaTime * rotationSpeed, Space.Self);
        }
    }
}- Hängen Sie das RigidbodyPlayerController-Skript an "Player 1" an (Sie werden feststellen, dass dadurch zwei weitere Komponenten hinzugefügt werden, Rigidbody und Capsule Collider)
- Passen Sie den Capsule Collider an, bis er den Würfelabmessungen entspricht.
Im Folgenden finden Sie die Schritte zum Erstellen eines geteilten Bildschirms für 2 Spieler:
- Duplizieren Sie das "Player 1"-Objekt und benennen Sie es in "Player 2" um.
- Ändern Sie in RigidbodyPlayerController die Spielersteuerung in "Arrows".

- Ändern Sie die Viewport Rect-Werte der Kamera "Player 1" in X: 0 Y: 0,5 W: 1 H: 0,5
![]()
- Ändern Sie die Viewport Rect-Werte von "Player 2" Kamera in X: 0 Y: 0 W: 1 H: 0,5
![]()
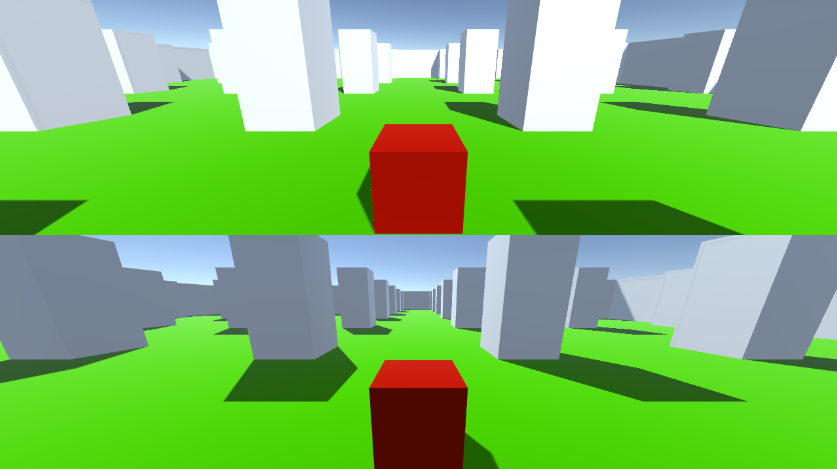
Alternativ können Sie einen vertikal geteilten Bildschirm einrichten, indem Sie die folgenden Werte festlegen:
X: 0 Y: 0 W: 0,5 H: 1 für Kamera 1
X: 0,5 Y: 0 W: 0,5 H: 1 für Kamera 2
